Deploying an Enterprise vLLM Stack on GKE
Running open-source or open-weight models locally has become incredibly accessible. Tools like Ollama and LM Studio on macOS empower users to run AI models directly on their hardware. As open-weight models grow more powerful and edge closer to frontier models, this capability is a game-changer.
Consequently, we are seeing a logical shift towards utilizing open-weight models in the enterprise. Running them alongside commercial frontier models can significantly optimize costs. For specific use cases—such as transcription, translation, text generation, and single-turn code generation open-weight models can even be used exclusively.
While Ollama is fantastic for local prototyping and small-scale developer workflows, it is not tailored for a production-ready architecture serving AI models at scale. It lacks advanced customizations, and the market offers more robust tools designed specifically for high-performance inference. Today, the most popular choice for production inference is vLLM.
vLLM shines as a production-ready inference engine, capable of:
- Continuous batching: Processing requests at the token level instead of waiting for static batches, which significantly reduces queue times and optimizes throughput.
- GPU efficiency with PagedAttention: Dynamically allocating VRAM by dividing the KV cache into small, non-contiguous memory pages.
- Distributed inference: Supporting tensor and pipeline parallelism, a crucial feature for distributing massive models across multiple nodes or GPUs.
- Broad compatibility: Natively supporting the vast majority of modern open-weight model architectures.
While vLLM handles high-throughput inference beautifully, a true production architecture also requires secure access, networking, high availability, scalability, and maintainable infrastructure. This is where Kubernetes (K8s) completes the equation. By deploying vLLM on Kubernetes, we treat AI models as standard workloads that can be automatically healed, dynamically scaled, and securely exposed.
Today, the vLLM-on-Kubernetes stack is becoming the standard for deploying enterprise models on public or private clouds.
To explore this architecture, I decided to build it iteratively, starting with a straightforward use case: a single-node GKE (Google Kubernetes Engine) cluster serving a small model capable of agentic coding. You can find the complete source code and detailed architecture in my repository: iheb24/vllm-gke.
Architecture Overview
I chose GCP (Google Cloud Platform) to quickly spin up a GKE cluster. Given the limited availability of GPUs for small projects, I opted for a single NVIDIA L4 GPU.
The L4 GPU efficiently spans 24GB of VRAM, perfectly accommodating models like Qwen2.5-Coder-14B-AWQ. (I also tested Qwen2.5-Coder-7B-Instruct, which was even lighter on resources). The 14B AWQ model possesses solid agentic coding competencies—excellent for small, non-complex tasks and highly effective for local IDE integration.
To ensure security, the stack is hosted within a GCP Private Network. My agent is not exposed to the public internet; instead, I whitelist my IP for direct access. Furthermore, API calls are secured by injecting an API key into the vLLM server after deployment.
My goal here is to demonstrate a Proof of Concept (PoC) for hosting models directly on GKE.
On the VPC level, the infrastructure includes:
- A subnet with a primary IP range for nodes, and two secondary IP ranges (one for pods, one for K8s services).
- A Cloud NAT gateway for outbound internet access.
- A Cloud Router for managing network traffic.
On the private GKE cluster, the setup includes:
- A managed Control Plane.
- A standard node pool for system pods (traditional CPUs).
- A dedicated GPU node pool containing one NVIDIA L4 machine for the vLLM pod.
- Workload Identity configured on the K8s Service Account for secure interaction with other GCP services.
Additionally, the deployment uses a Persistent Volume Claim (PVC) to cache downloaded model weights. If the pod is recreated on the same node, it won't need to redownload the massive model files from Hugging Face, drastically reducing cold start times. (Note: if the cluster itself is destroyed, this cache volume is also lost). Check 02-pvc.yaml in the repository for details.
Pricing
Here is a quick price comparison between Spot and Standard (Reserved) instances for a g2-standard-8 node (1x L4 GPU, 8 vCPUs, 32GB RAM) in the europe-west4 and us-central1 regions:
| Billing Model | Hourly Rate | Monthly Cost (24/7) | Reliability |
|---|---|---|---|
| Spot (Preemptible) | ~$0.25 / hr | ~$182 / month | Can be deleted at any time without warning. |
| Standard (On-Demand) | ~$0.83 / hr | ~$605 / month | Dedicated to you, will never be preempted. |
I tested the entire stack throughout the week by creating and destroying it on demand (without leaving resources running idly). The total cost was less than $5.
Provisioning the Infrastructure
To deploy this yourself, follow these steps:
- Verify GCP Quotas: Ensure you have the necessary GPU and CPU quotas.
- GPU usage is disabled by default. You need at least
1for theGPUs (all regions)metric. - Since the stack can use Spot instances, I also requested an increase for the
Preemptible CPUsquota in my target region. - I had the L4 GPU quota by default, but more powerful machines (like A100s or H100s) require manual quota increase requests with justifications.
- GPU usage is disabled by default. You need at least
- Configure Environment: Retrieve your public IP using
curl ifconfig.meand create a.tfvarsfile referencing your GCP project ID and your IP address. - Deploy Infrastructure: Authenticate with GCP and run
terraform apply. - Configure Kubernetes: Once Terraform succeeds, authenticate to the new cluster:
gcloud container clusters get-credentials vllm-cluster --region us-central1 --project <gcp-project-id> - Set up Namespace and Identity:
kubectl apply -f k8s/vllm/01-namespace-and-sa.yaml - Inject the API Key:
kubectl create secret generic vllm-api-key --from-literal=api-key="<your-api-key>" -n vllm - Deploy vLLM:
kubectl apply -f k8s/vllm/ - Monitor the Deployment: Watch the namespace events to ensure everything starts correctly.
Note on instances: Using Spot instances offers a massive pricing advantage, but resources can be preempted or simply unavailable when you request them, leading to longer wait times for a GPU to become free.
If your quota is insufficient, Terraform or GKE will throw an error, and the instances won't provision:

When requesting GPUs—even Standard ones—you might face availability issues because they are in high demand. Be patient; a machine will eventually be provisioned.
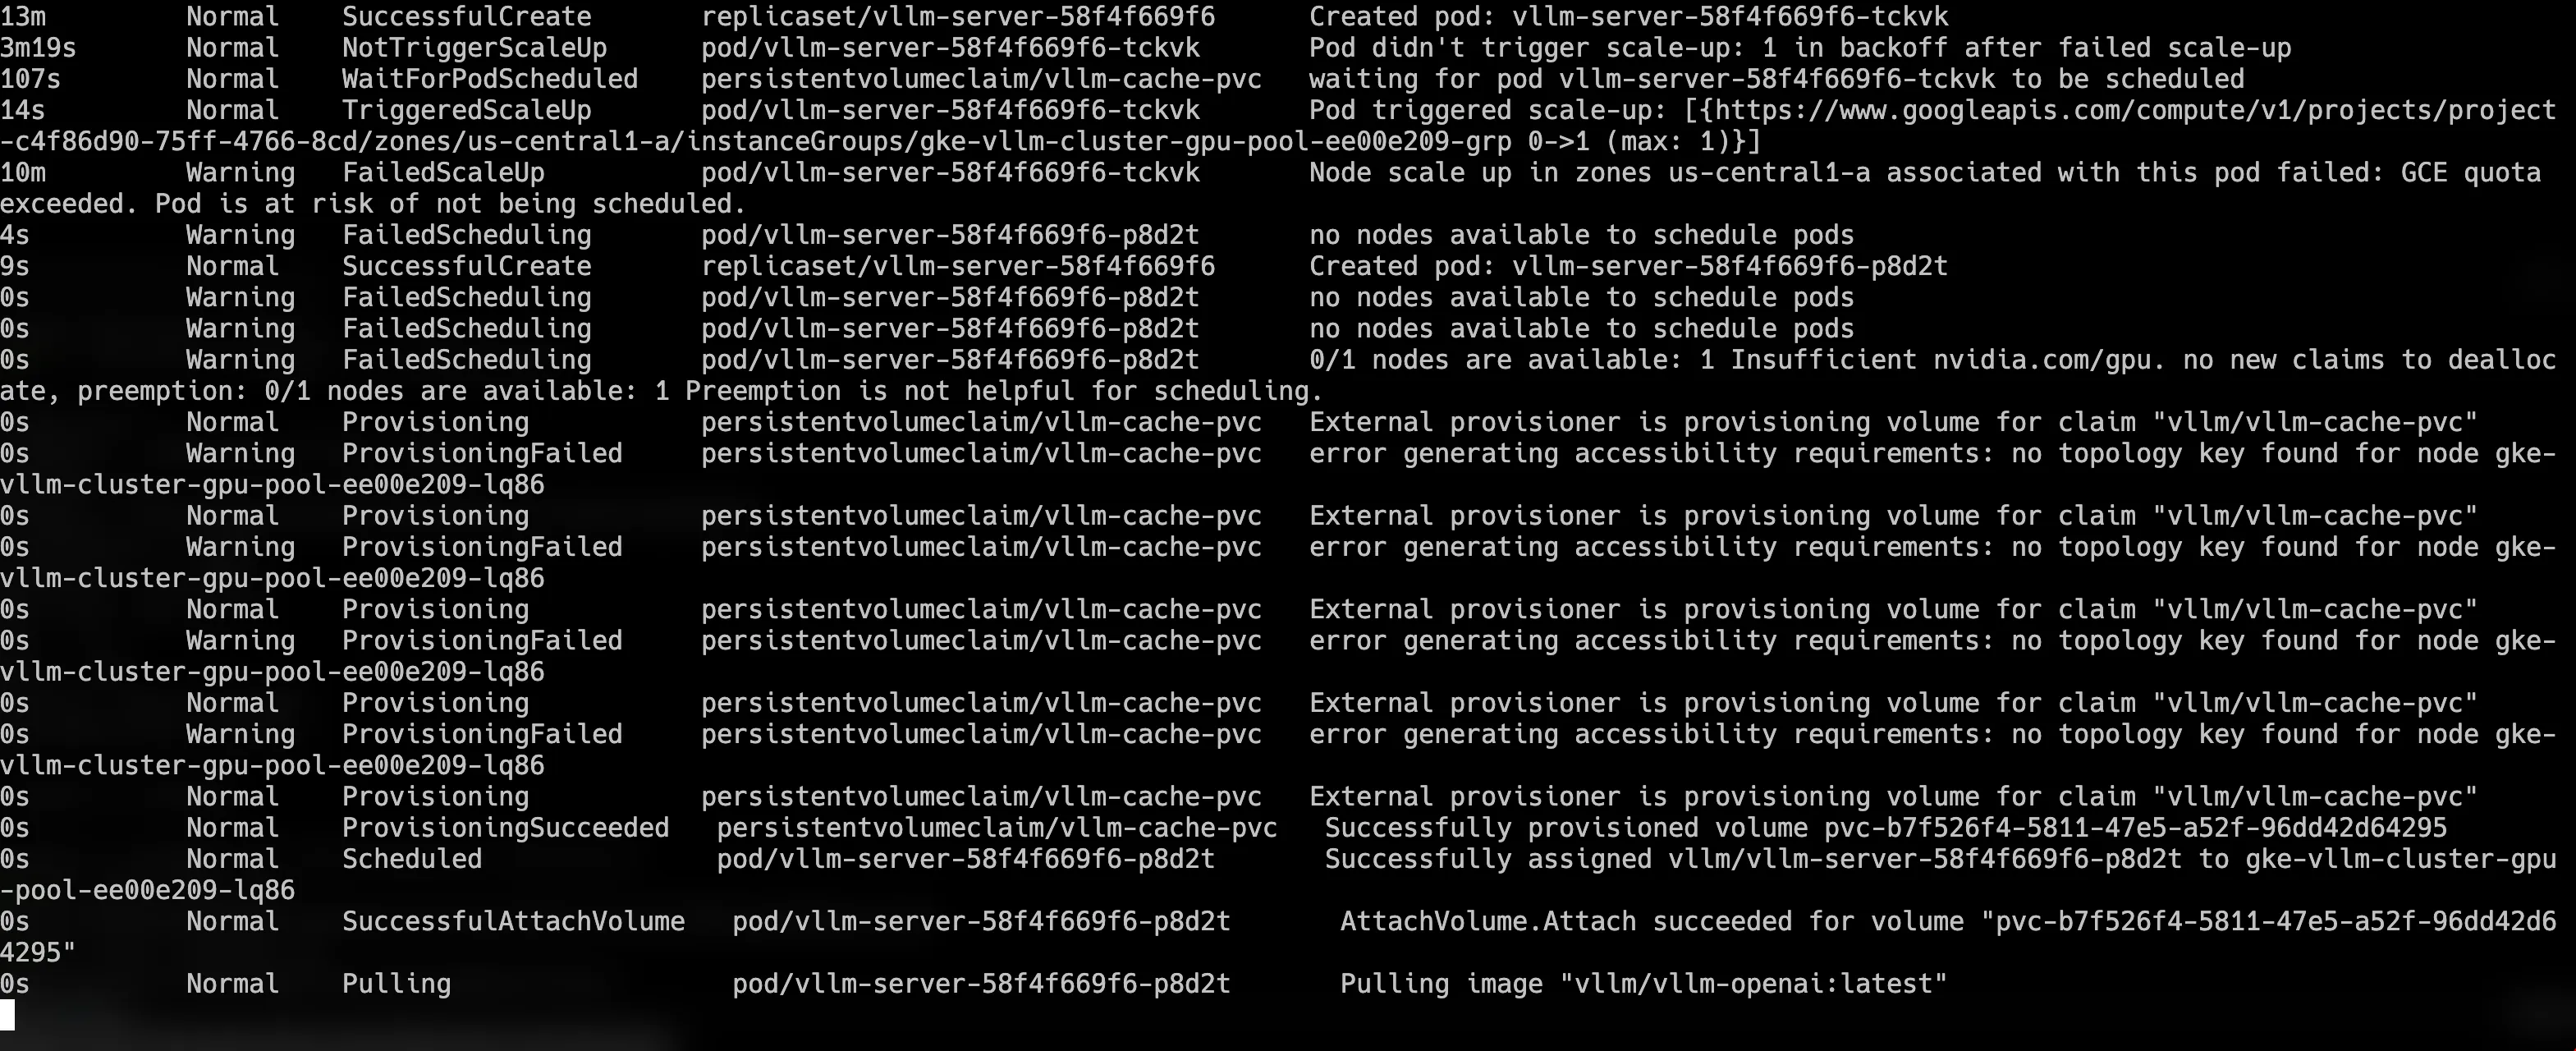
Once the vLLM container starts downloading the model and allocating VRAM, you can follow the logs:
kubectl logs -l app=vllm-server -n vllm -f

Look for INFO: Uvicorn running on http://0.0.0.0:8000. This confirms that the model is loaded and the server is ready to accept requests.
Usage
To access the model securely from your local machine, use a Kubernetes port-forward command:
kubectl port-forward -n vllm svc/vllm-service 8000:8000
Keep this terminal open; it acts as the secure tunnel between your computer and the GKE cluster.
You can now test the model directly via curl:
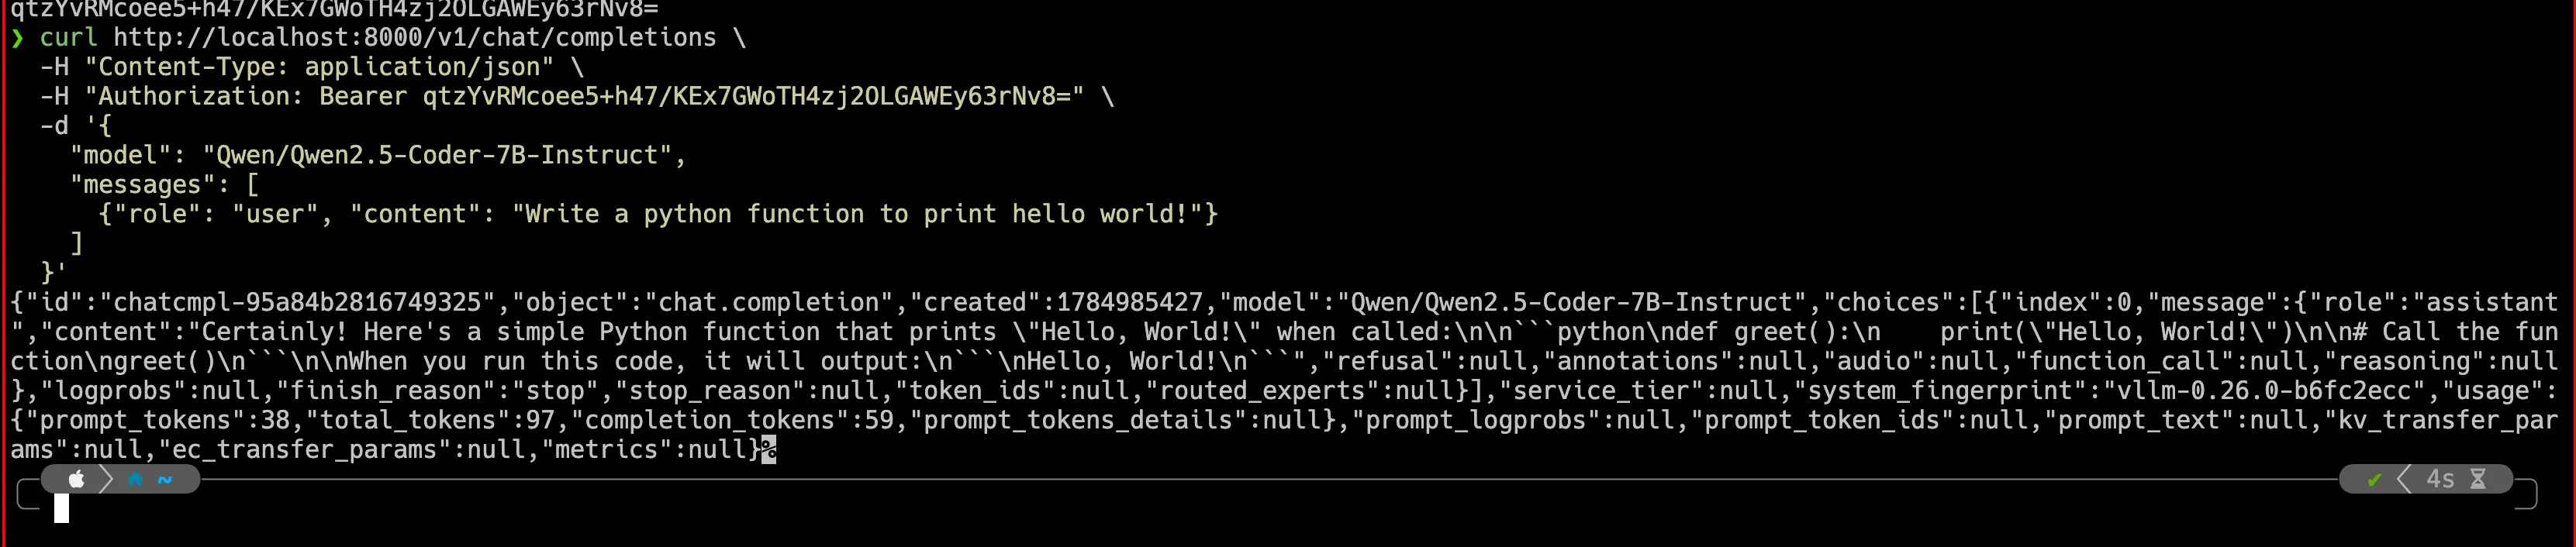
Alternatively, you can connect an AI agent or a coding companion capable of using OpenAI-compatible endpoints. For this example, I configured Cline in VS Code.
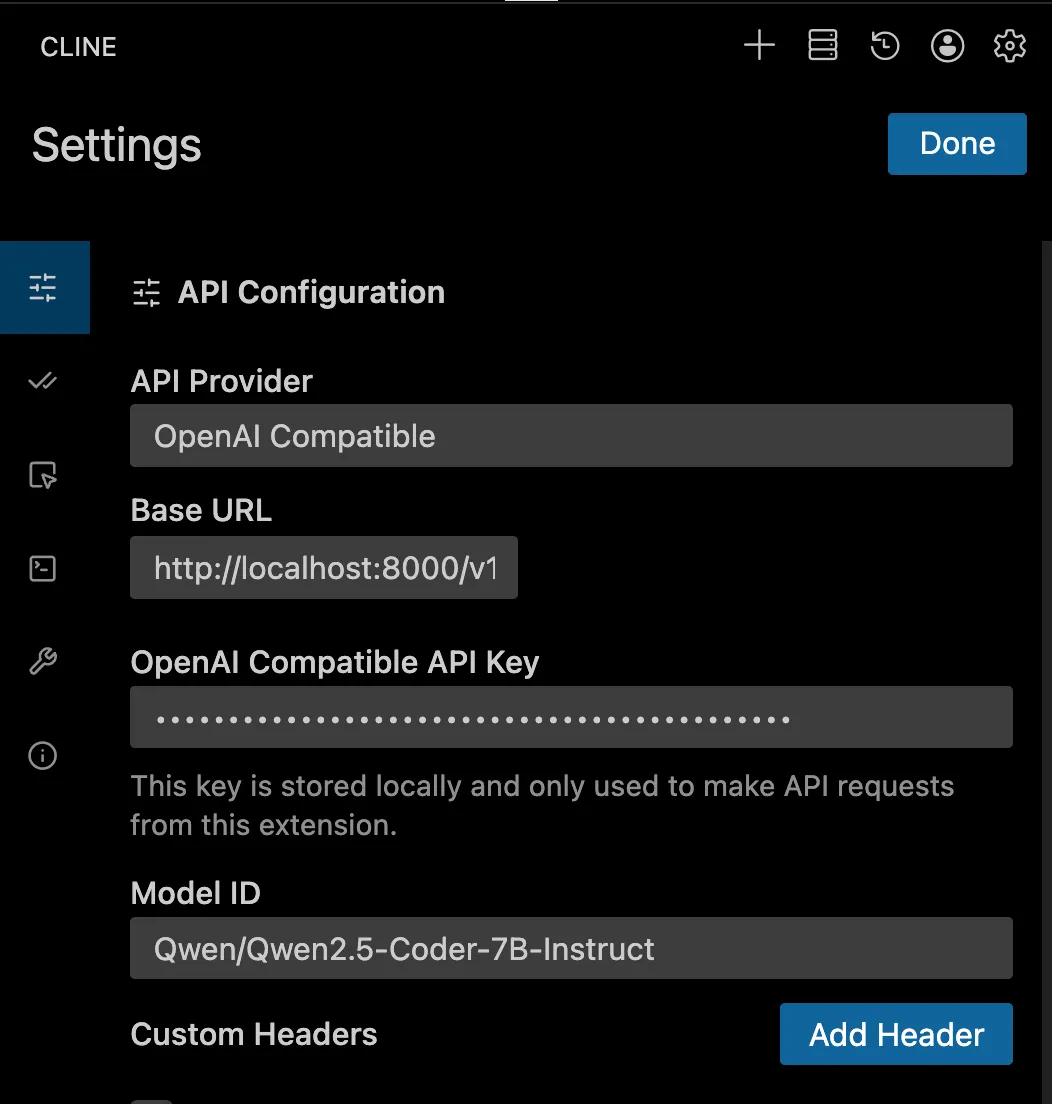
The agent interacts directly with the model, generating responses in a very reasonable timeframe.
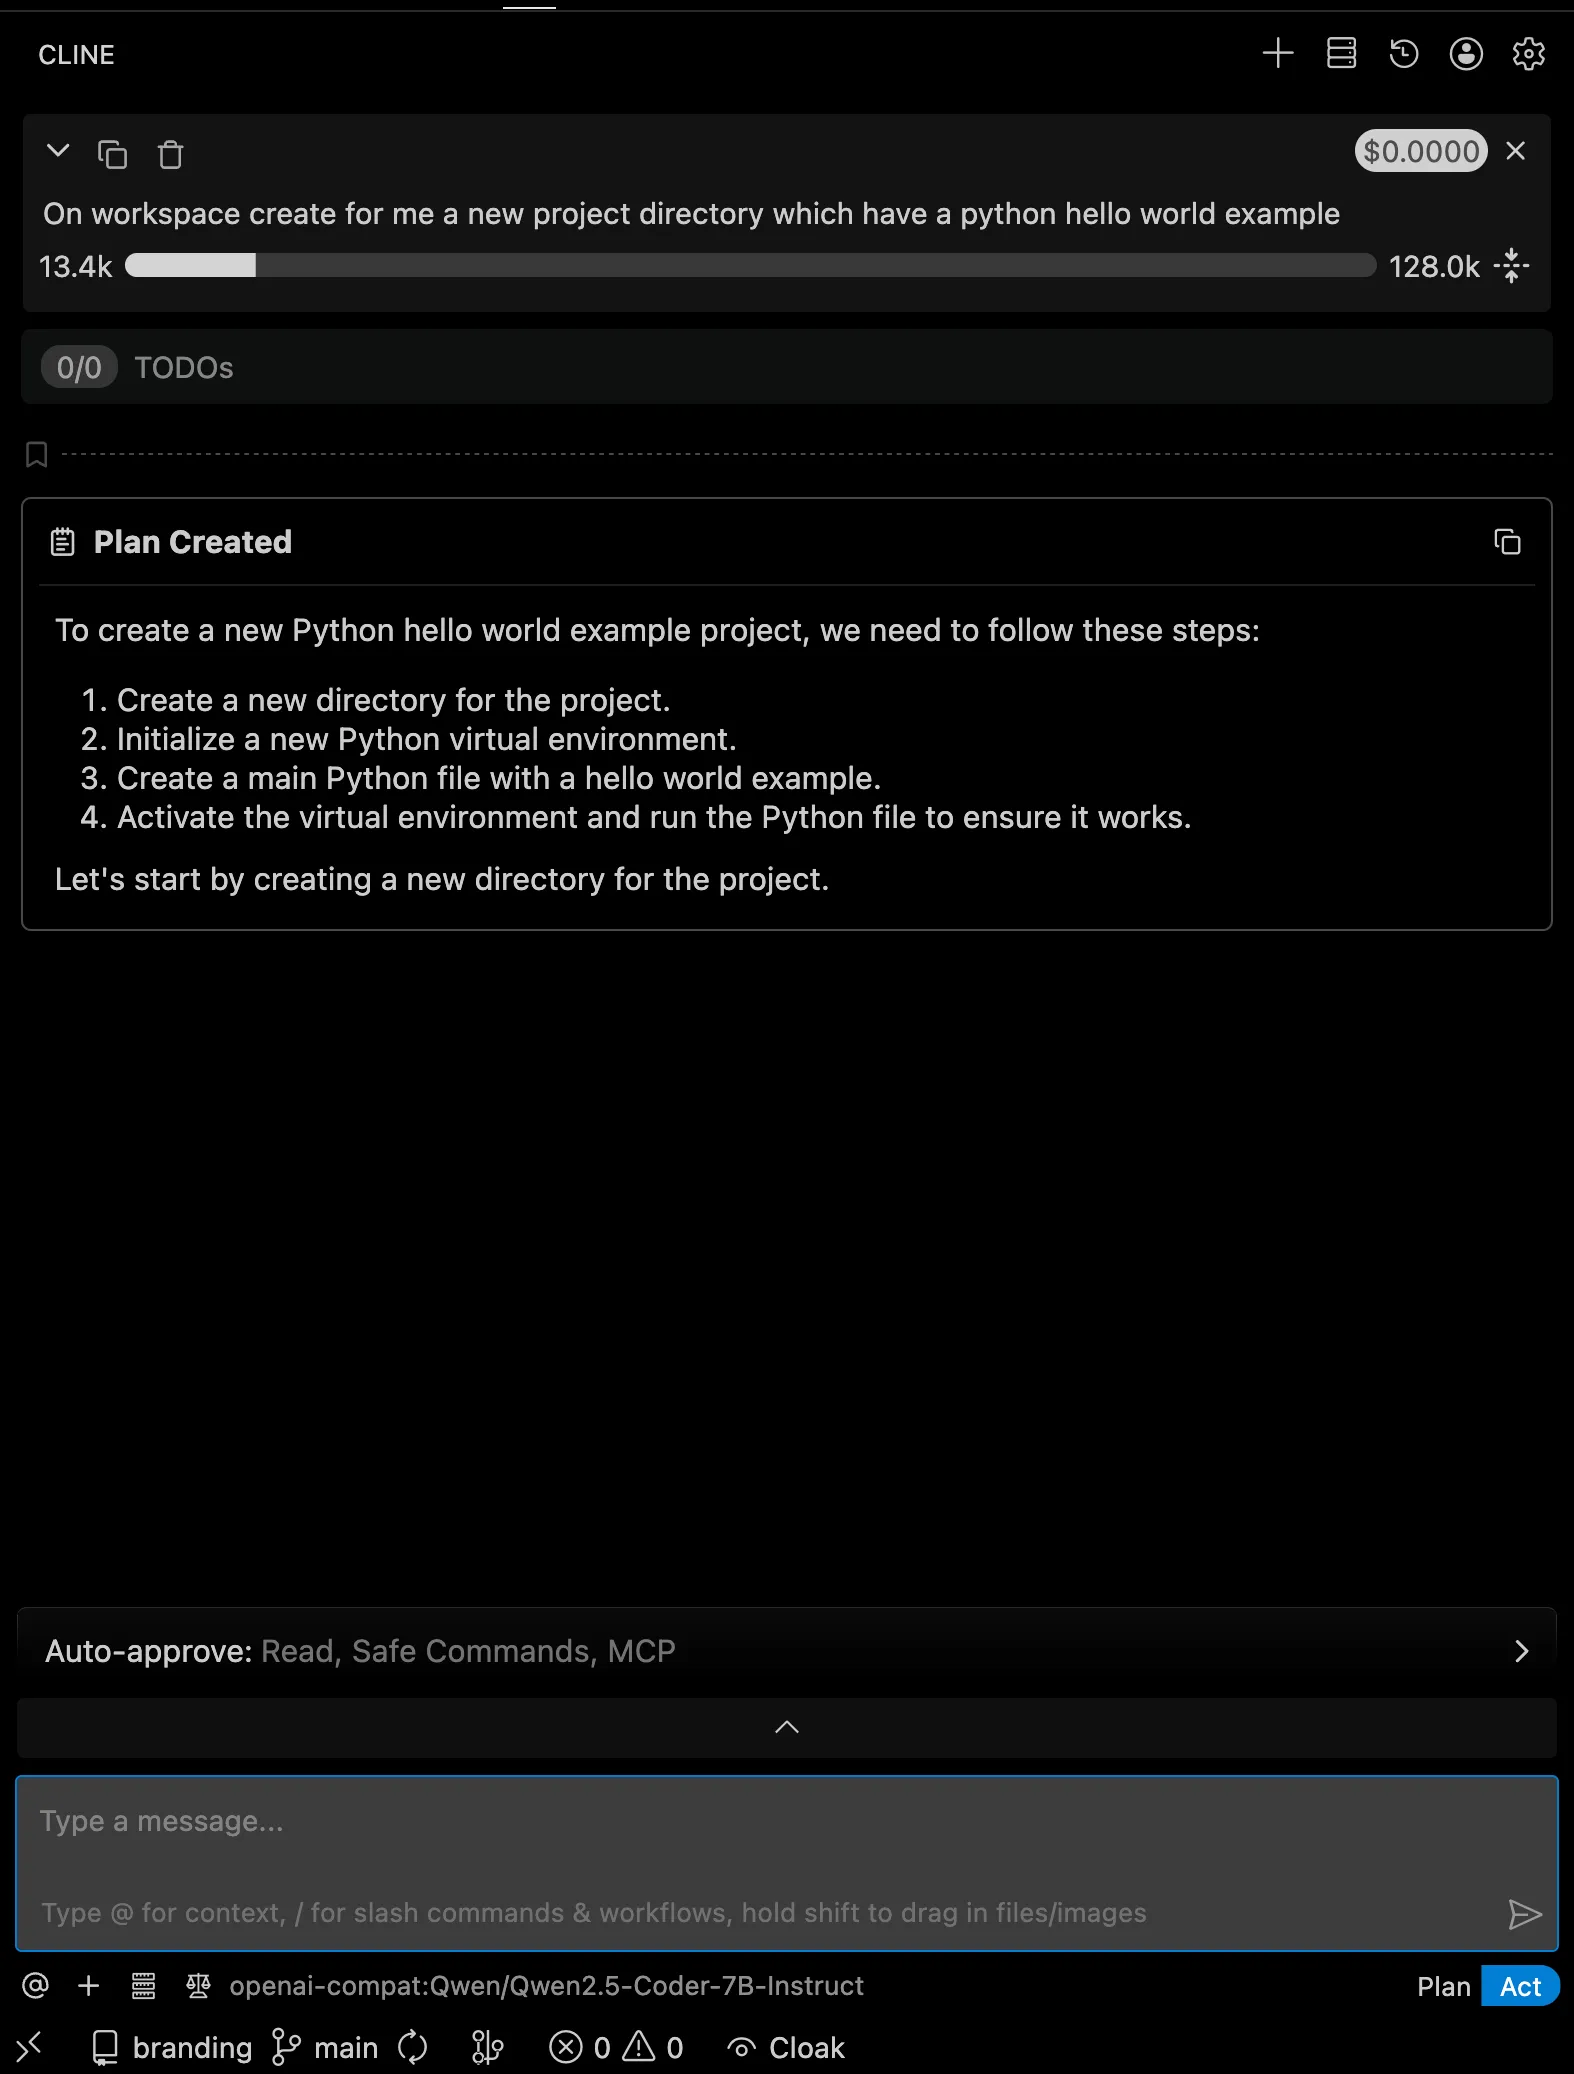
As shown in the Cline configuration, the context window is a critical parameter. You can easily configure and adjust the maximum context length directly in the Kubernetes manifest 03-deployment.yaml using the --max-model-len argument for vLLM.
Teardown
To destroy the infrastructure and stop incurring charges, navigate back to your Terraform environment folder and run terraform destroy. This will cleanly remove all provisioned resources.
Final Considerations
In the demo screenshots, you might notice I was initially testing with Qwen/Qwen2.5-Coder-7B-Instruct. Later, I switched to the heavier Qwen/Qwen2.5-Coder-14B-AWQ to better leverage the L4 machine for agentic coding.
This switch required merely updating the model name in the Kubernetes manifest and applying the change. This flexibility makes this stack incredibly powerful—you can easily swap models, adjust multimodality settings, or change machine types once the base cluster is established. This adaptability perfectly justifies the use of Kubernetes, provided you keep the architecture simple initially to avoid over-engineering.
A note on availability: Encountering quotas, stockouts, and long wait times for GPUs is completely normal on a personal GCP account right now. Half the tech world is experimenting with public cloud GPUs. Enterprise environments bypass this misery by utilizing committed use discounts for GPUs over a year or more, guaranteeing immediate availability and significant cost savings.
Future Production Improvements
While this stack serves as a solid foundational learning experience, it requires a few enhancements before it can be considered truly production-ready:
- Deployment Automation: Wrapping the Kubernetes manifests into a Helm Chart or using ArgoCD for GitOps-driven deployment.
- Ingress and TLS: Replacing the
kubectl port-forwardworkaround. A true production stack uses an Ingress Controller (like NGINX or Gateway API) combined withcert-managerto automatically provision Let's Encrypt SSL certificates. - Observability: Running an LLM in production blindly is dangerous. Integrating Prometheus and Grafana to scrape vLLM's
/metricsendpoint is essential for monitoring GPU memory utilization, queue lengths, and tokens-per-second. - Smart Autoscaling: My current autoscaler is "dumb"—it only provisions a new node if a pod fails to schedule. The golden standard for LLM serving is using KEDA (Kubernetes Event-driven Autoscaling) to scale the number of GPUs up and down dynamically based on the actual queue length of incoming API requests.